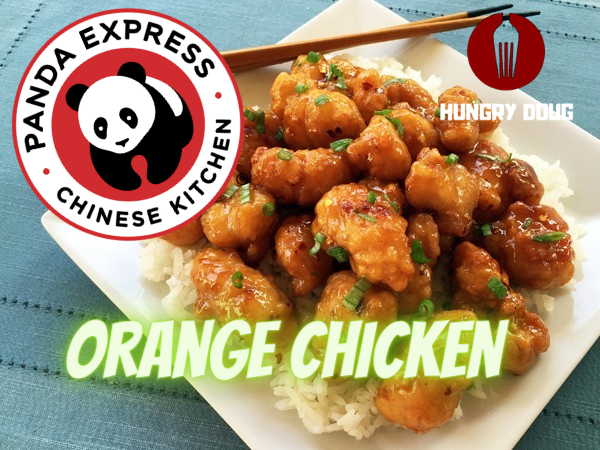
Who came here to get an Orange Chicken Recipe? As you all know, Orange Chicken and Panda Express go together like the Big Mac from McDonald’s or the Whopper from Burger King. When you pick up your Combo Plate, you must fill one of your entrees with the delicious sweet and tangy, Orange Chicken.
Describe Chinese Food
Chinese food? Oh man, where do I even start? It’s like this flavor-packed rollercoaster ride for your taste buds, seriously! Picture this: you’ve got these dishes bursting with all kinds of flavors – sweet, savory, spicy – all at the same time. And the textures? Let’s just say crunchy veggies, tender meats, and slurp-worthy noodles are all part of the party.
But here’s the kicker: it’s not just one-size-fits-all. Nope, Chinese cuisine is like a whole bunch of mini cuisines rolled into one giant feast. You’ve got your spicy Sichuan dishes that’ll set your mouth on fire (in the best way possible), your Cantonese dim sum delights with their delicate flavors, and everything in between.
And don’t even get me started on the variety! From steaming bowls of noodle soups to crispy Peking duck and everything else under the sun, Chinese food has something for everyone. Plus, it’s all about sharing, which means you get to dig into a little bit of everything with your crew.
Basically, Chinese food is like a flavor explosion in your mouth, a culinary adventure you never want to end. So grab those chopsticks and get ready to dive in!
Panda Express
Orange Chicken from Panda Express is a popular Chinese-American dish that combines tender chunks of crispy fried chicken with a sweet and tangy orange-flavored sauce. Personally, I think this is the best sauce that Panda Express has to offer. You then coat the chicken in a light batter and deep-fry it to golden perfection. This gives is a crunchy exterior while remaining juicy on the inside. To make the sauce, you take some orange juice, soy sauce, garlic, ginger, and other seasonings and mix it together over heat. The result is a flavorful combination of sweet and savory notes with a hint of citrus brightness. Put what you want on it such as chopped green onions for a fresh touch. This dish is a crowd-pleaser, loved for its irresistible combination of textures and flavors, making it a staple on the Panda Express menu.
Enjoy this Copycat Orange Chicken Recipe and let us know what you think.
Serving up delicious inspiration, one recipe at a time!
Trim the Chicken into bite sized chunks. Throw the chicken bites into a couple ziplock bags and add the egg, salt, pepper, flour, corn starch, and soy sauce. Slowly add water to make this an even coated batter. Let this sit in the fridge for 1 hour.
Heat up some oil for frying (enough to cover the chicken). Fry the chicken until golden brown. Drain the chicken and wait 3 minutes before adding them into the sauce.
Sauce Prep
Add all sauce ingredients into a pot and heat until a slow simmer, constantly stirring. Cook until a dark golden brown.
If you happen to be reading this, you have an interest in becoming the next god of the coals and start Smoking Meats. I myself have found myself jonesing for the perfect Beef Brisket and being on a constant search for perfect pulled pork. Finally, I took the plunge and started immersing myself into this amazing world of flavor.
I grew up in California, Idaho, and Utah, and was not exposed to good BBQ like I would have been if I grew up in the Midwest or the South. Since I have expanded my horizons, so has my desire to make the best and most flavorful meats that I can. Here are some tips and secrets to get started in one of the most rewarding forms of cooking. With some practice, your family and friends will think you too are a God of the Smoker. Below are some great tips for getting started that I have compiled to help us all in getting started with our flavor journey.
The Smoker
Probably the one part of the experience that causes the most contention and confusion between people who are smoking meats is the Smoker itself. All smokers use different types of fuel to create heat and smoke to infuse the meat with flavor. The heat slowly cooks the meat, while the smoke penetrates and flavors the meats. Over the years, man has created several different ways to cook meat and put that smoke flavor in the meat.
Most people who have been in the game for quite a while definitely have their preference. Here is a list of some of the different types of smoker:
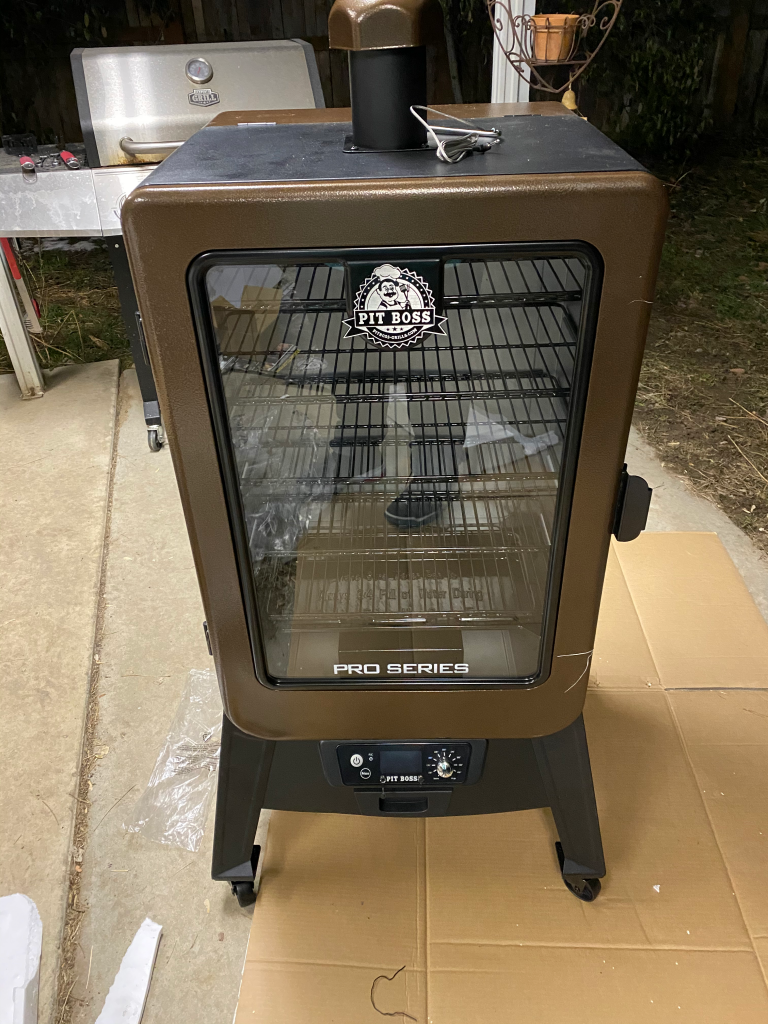
My new Pit Boss Pro Series Box Pellet Smoker
Vertical Water Smoker – Fuel on the bottom, a water pan to control and regulate the temperature, and an upper chamber to fill with meat.
Offset Smoker – Fuel (Wood, Charcoal or Pellets) is burned on one side of the smoker and connected to another chamber that holds meats and the smoke travels through an opening to heat and flavor the meat. This is an indirect type of cooking.
Box Smoker – Much like a Vertical Water Smoker, the Box Smoker has fuel source on the bottom of a “cabinet” and racks going up. These can have a water pan also. This is usually for those that want to cook a lot of meat at the same time.
Drum Smoker – A Very simple way to go and usually a DIY project. The drum acts as a smoker. These usually have very poor insulation and will go through a lot of fuel.
Smoker Oven – These have an electric smoking element that causes fuel to smolder.
Komodo Grill – A versatile cooker that can be used to grill as well. They are made of ceramic and usually painted Green.
Pellet Grill – Uses pellets as fuel and feeds the chamber using a hopper and auger feature. Pellet Grills can be combined with other Box Smokers or Offset Smokers.
The Accessories for Smoking Meats
Butcher Paper – This one is a must if you want to keep your meat moist throughout the cooking process. Once your meat develops that coveted crust, you wrap it to keep the moisture inside and to lock in the flavors.
Spritzer Bottle – Every hour (sometimes each 30 minutes) you need to give your meat a little spritz. You can use water, Apple Cider Vinegar, or Apple Juice to give your bark a nice tang.
Meat Claws – Essential for Pulled Pork and shredding chicken.
Temperature Probes – There are so many different options. Ones that plug into the outside of the smoker, ones that are manual, and ones that connect to your phones over wifi and let you know the temperature when you are not even near your smoker.
Flavor Injectors – Essential for getting flavor deep down in your meats. If you want your meat to be super moist and delicious, a good flavor injector will pay huge dividends.
With all of these accessories, some can get a little pricy, some cost less than $5. But if you view it as an investment and take care of your tools, they will last you quite a while.
The Patience
Learning to smoke some serious meats takes a long time to get right. A lot of late nights, early mornings, and I’m sure there will be some disappointments, but that is where the fun and learning happens. In my personal experience, I would buy a huge piece of meat and find a rub at Cabela’s or Lowes and have at it. The best way to learn is simply by doing. So get at it!
Smoking Meats is definitely a lifestyle and one that you are constantly tweaking to get right. You will not be a god at the beginning, so be patient with yourself. Watch YouTube videos of others and their experiences. Find some spice rubs on Pinterest, stick stuff in the smoker that you wouldn’t expect. Experiment! And most of all, have fun.
There are certain times in your life that you just look at your wife and realize you are the luckiest guy in the world. For me, the added bonus is that my beautiful bride makes THE BEST Sugar Cookies. They are rich, savory, sweet, soft, and the stuff dreams are made of. If you do not believe me, take a look at how simple this recipe is.
Mix all the wet ingredients (butter, eggs, Vanilla Extract) and Sugar.
Slowly add in the dry ingredients until you get a nice uniform dough mix.
Using a kitchen spoon, make 1.5" balls and place them evenly spaced on a greased cookie sheet. Bake for about 8 minutes until golden brown. Let cool on a cookie rack. Top with your favorite frosting.
Beautiful Las Vegas. Sin City. There is nothing quite like driving hours through the barren desert and finally seeing the sparkling lights of this gem of a city in the distance. In a town known for it’s Elvis impersonators, Prostitution, and Money, there is another gem called Hash House A Go Go.
During a business trip, I had the opportunity to finally get out and experience it for myself. I had heard several people talk about this place and we decided to give it a try. It was a Thursday night and we took a drive to find this place. I had tried to get in on other occasions, but they were always SLAMMED. Coming on a Thursday night seemed to work out perfectly. I was amazed that we got in right away and were seated at the bar.
The Menu
Exploring their menu, I found a wide assortment of food, not just breakfast items. Some of the best things on the menu were things like their Chicken Pot Pie, Burgers, and even a Pork Tenderloin the size of your head. Now I had heard about their most famous dish, Chicken and Waffles and had to experience that for myself.
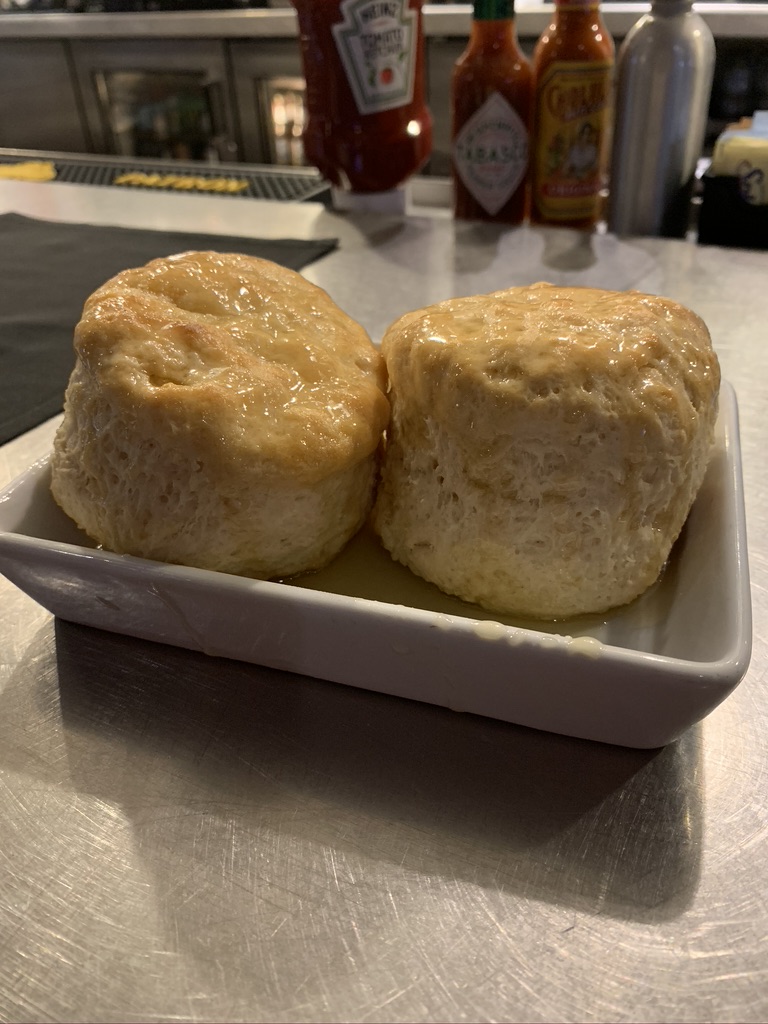
Before we got our main dish, we were greeted with the most amazing Biscuits covered in Honey Butter. They certainly know how to make a mean biscuit. My wife would LOVE these things.
Hash House Biscuits
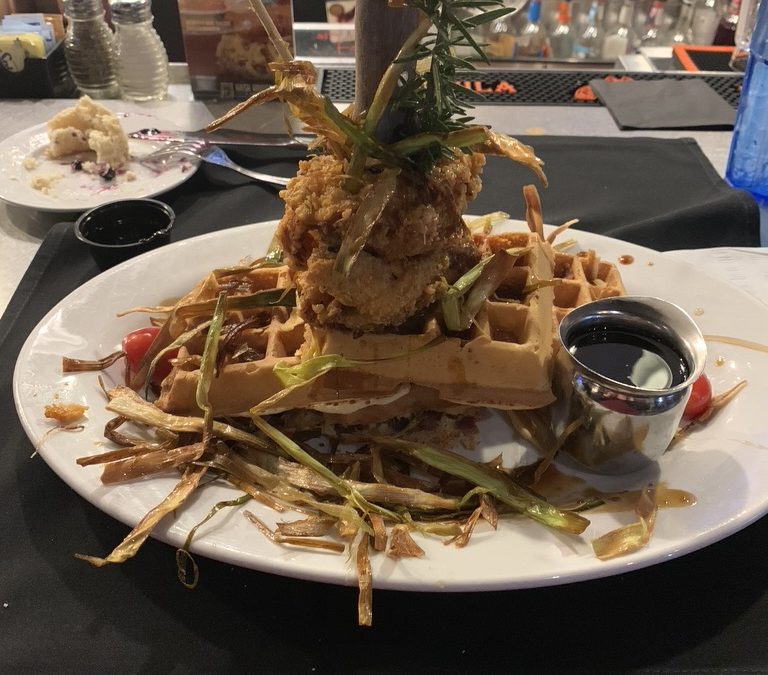
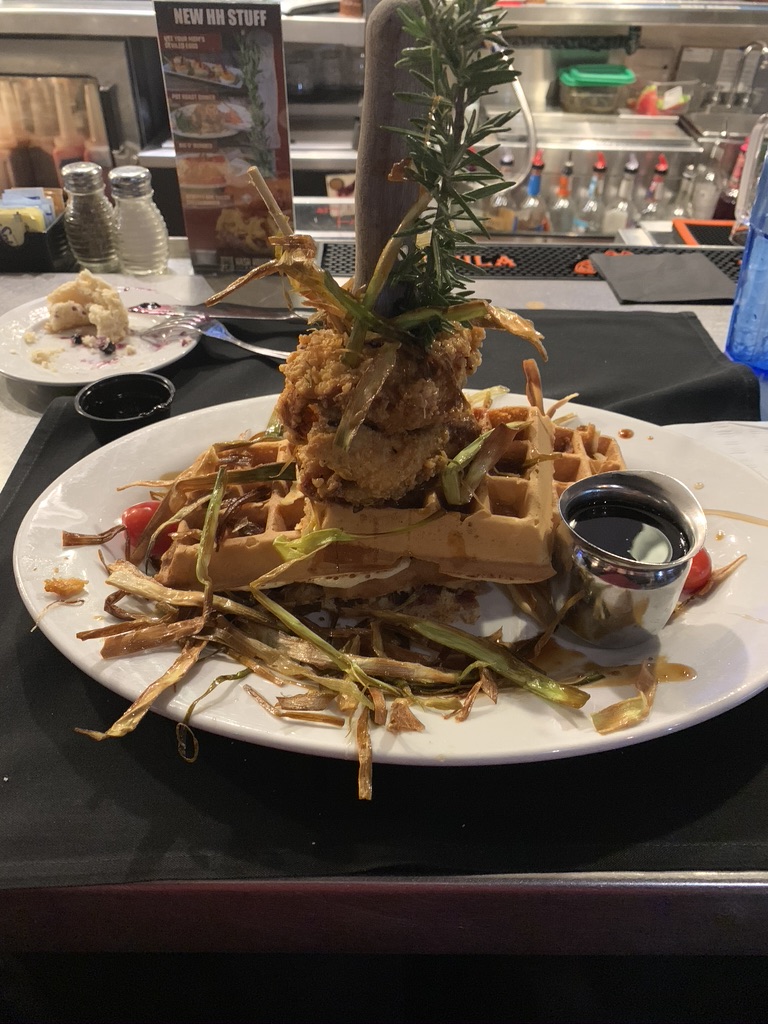
World Famous Hash House Chicken and Waffles
When the plates came out I had to pick up my jaw from the floor. Stacked on 3 pieces of golden waffles was 2 huge pieces of Fried Chicken. Surrounding the waffles was a beautiful bed of fried Green Onion, which I thought was a great touch. They have the Nashville Hot version, which added a nice kick to the otherwise super sweet and savory dish.
How did it taste?
Trying to deconstruct the masterpiece was a difficult task, but each bite was worth it. With each bite, I was getting all three flavor profiles. The super sweet with the Maple Syrup, the Savory with the golden fried chicken, and the spicy with the Nashville Hot. It honestly could not be any better.
My only regret this whole visit was the fact that I could not try another 10 items on this unique menu. I guess that will have to wait until next time Hash House.
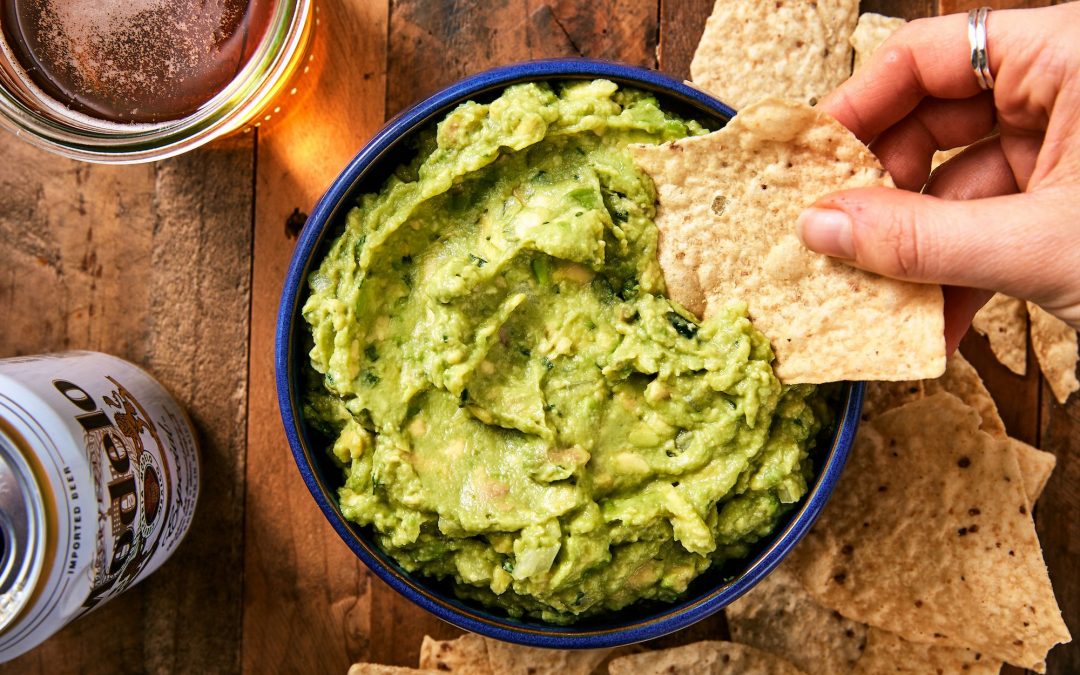
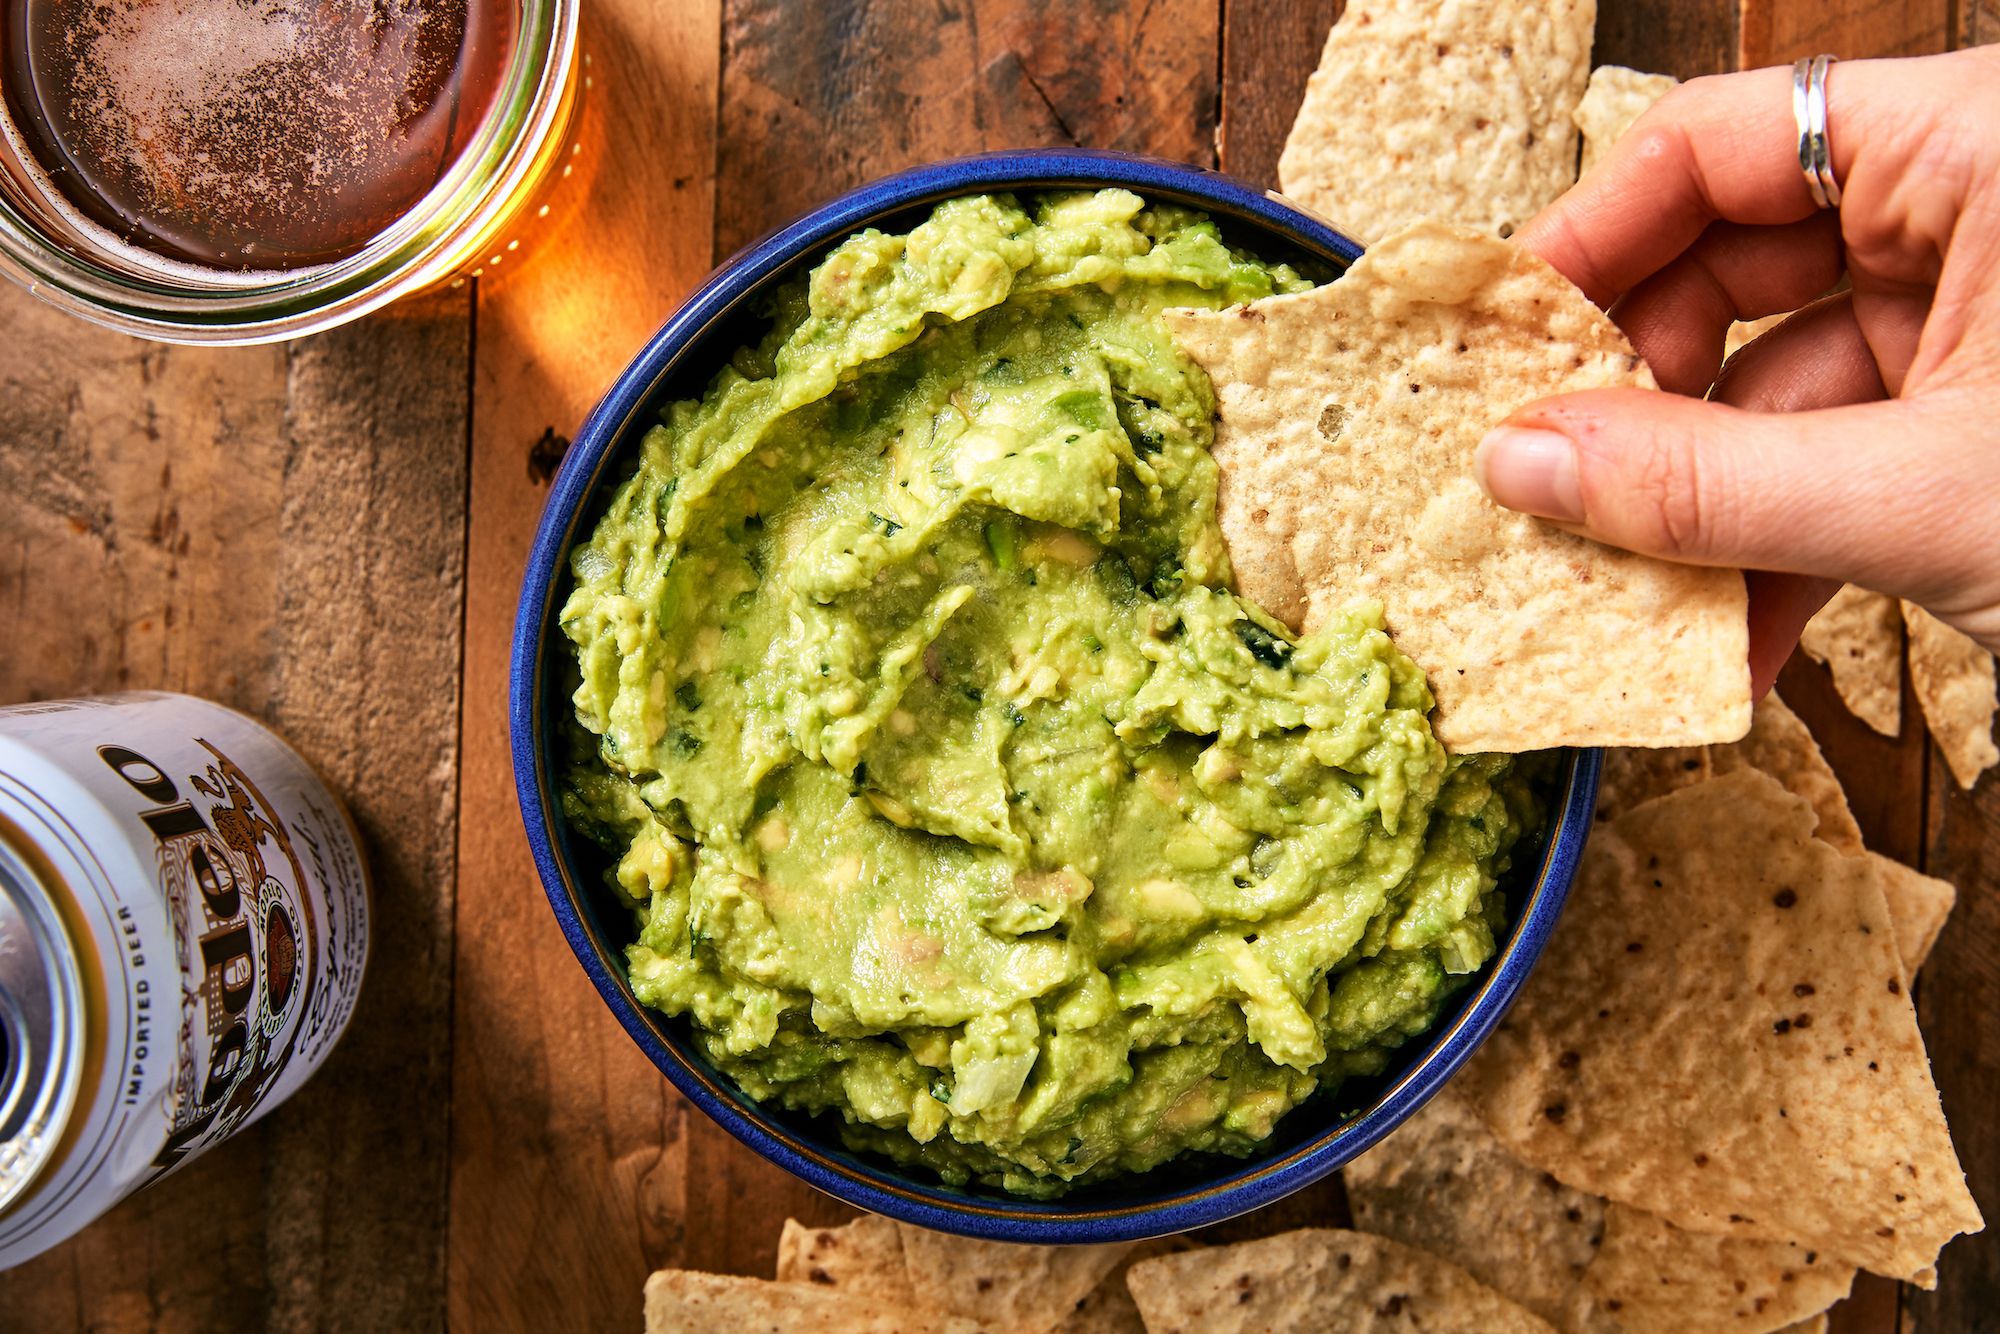
Holy Guacamole is a perfect addition to any Mexican meal. Put it in your burrito, on top of your enchiladas, or just directly inject it into your veins. All are perfectly acceptable.
Why does Guacamole turn brown?
It starts with a little chemical called polyphenol oxidase which is present in Avocados. When that chemical is exposed to oxygen, it oxidizes and causes a reaction that develops a pigment, turning the avocado brown.
How you combat that, is to keep the Guacamole in an airtight container and introduce some type of acidity such as lime or lemon juice.
Holy Guacamole
Holy Guacamole is the perfect addition to any Mexican food dish and it is super simple to make. Why pay the extra $1 when you can make so much more from scratch.